
I have had all sorts of electric pumps installed in kayaks over the last 20 years or so, with many different combinations requiring the need to keep the battery dry. I have had the battery installed in the rear hatch, day hatch and in waterproof boxes etc.
The pump I now use is the Rule Automatic style that senses water in the cockpit and activates the pump switch.This is an emergency pump system used if you capsize and have to bail out of the kayak. Yes, there is a time delay in starting, however, by the time you are out of the kayak and have righted it the switch has normally activated (about 15 seconds).
It doesn’t get out every single drop of water but its’ benefit is in the “no hands operation” in a capsize situation. There is also a switch on the side of the pump so that you can manually activate the pump if required. The benefits are the removal of a manual switch from the system, which has been the only part that has malfunctioned in all the pumps I have ever fitted. Water simply gets into the switch system eventually, even reed switch systems etc. have failed on me.
The battery doesn’t get flattened by the automatic system as it only turns on when there is a good deal of water in the kayak. Also the number of emptying cycles needed to drain the battery is considerable. I have used the kayak for capsize demonstrations with at least 20 cycles with no sign of a flat battery. Remember that the system is designed for use in a capsize situation to get the bulk of the water from the kayak, not pump it absolutely dry. You will still need a sponge to get out the last bit of water from the cockpit, but in the case of a capsize the bulk of the water will be removed by the time you have completed a rescue or re-enter and roll. Considering the conditions that capsized you in the first place, you are probably not going to be worrying about a small amount of water in the cockpit.
The pump I used is a Rule-Mate Automatic Bilge Pump 500 GPH (Available from any good marine dealer) which has an inbuilt water sensing switch that senses water and turns the pump on and off automatically, with inbuilt time delays. There is also a manual switch on the unit. This is different to the older pumps with a float switch which will activate when the kayak is turned upside down (i.e. rolling), which causes the pump to run dry.
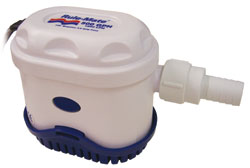
Rule Automatic switch pump
I have put together a few photos to give you an idea of the installation method I used on a recent pump fitment.
I am using the 500 gph Rule automatic pump with a 12 volt 3.2 amp battery in a waterproof case. The battery is much larger than I normally install, however , this will also be used to charge my camera battery on expeditions.
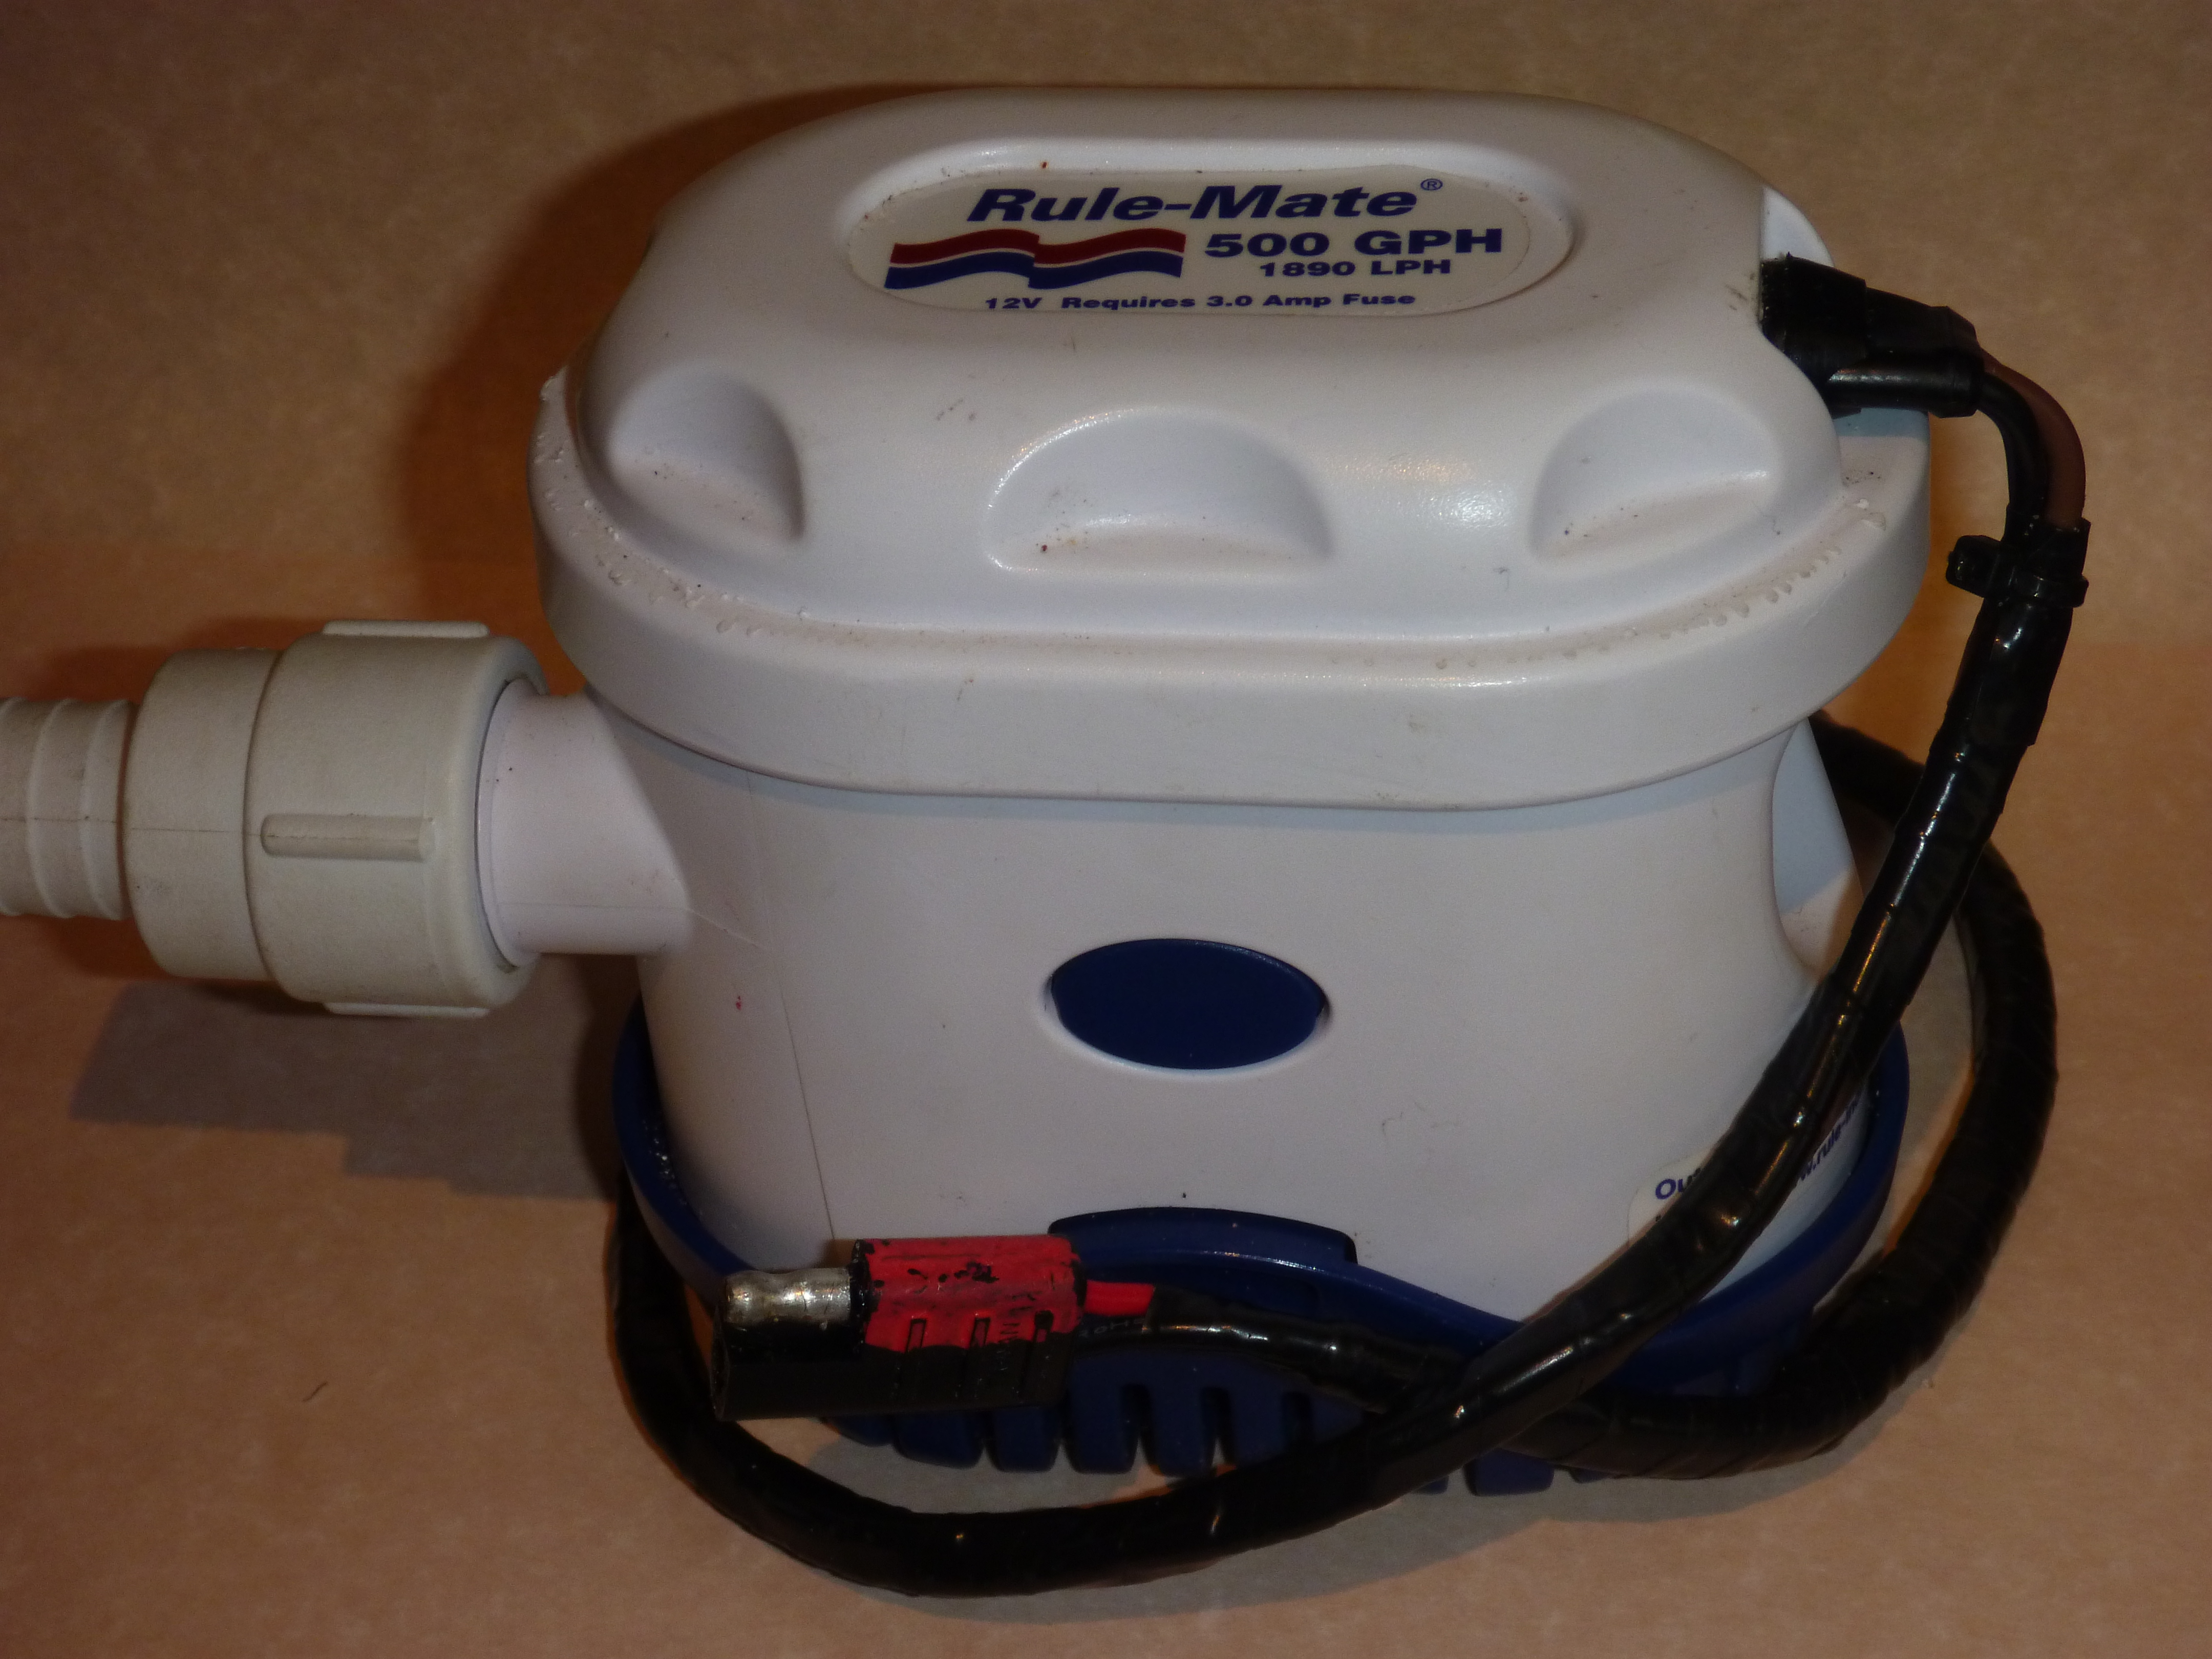
Pump wired and connector attached
First job is to drill a hole in the side of the waterproof box and push the pump wires through. In this case I am running the pump in full automatic mode so the extra “manual switch ” wire is cut and taped off.
Next wire in a standard fuse holder and attach the battery connectors to the wires. I use standard spade connectors to the battery for simplicity. Test the system using the pumps manual switch located on the side of the unit.

Battery box complete with fuse older and all wiring in place
If all working as planned I seal the wires though the battery box with Sikaflex Marine sealant and let cure as per instructions. Remember to fit a foam block into the battery box to stop any movement of the battery when in use.
Next it’s on to fitting to the kayak which varies with each kayak.
Mark the position of the skin fitting on the kayak deck, covering the area with masking tape to avoid any unwanted scratches. Use a hole saw to cut the correct size hole for the skin fitting (you can also use a series of small holes to complete the circle) and fit and seal the skin fitting and nut, with Sikafex sealant.

Drill hole for outlet
I used a small bung (from marine dealer) inserted in the skin fitting to help keep water from entering back into the pump/cockpit, a non-return valve is not required, which is restrictive to water flow, and can block with weed etc. Drill a small hole through the bung and push through a small diameter cord, knot at the end and attach at a convenient place on the deck.

Skin fitting with plug installed
I had to install a pump in a CS Canoe My Sun kayak which presented a change from the normal outlet. The deck of the My Sun is angled in such a way that if I installed the standard outlet then the ewater would be directed back into the cockpit. For this installation I used a chromed breather outlet which did the job nicely. It has a slightly restricted flow due to the 90 degree outlet but was still fine in practice.

CS Canoe My Sun Pump outlet
There are many ways to attach the pump into the kayak and I have used velcro at times as well as aluminium brackets attached to the back of the seat pan. It really depends on your cockpit layout.
Mount the pump in place as required and measure the length of outlet hose so that it fits fully onto the skin fitting and is easy to remove from the pump spigot. I used the corrugated style hose as it bends easier and also helps keep the pump firmly in place.
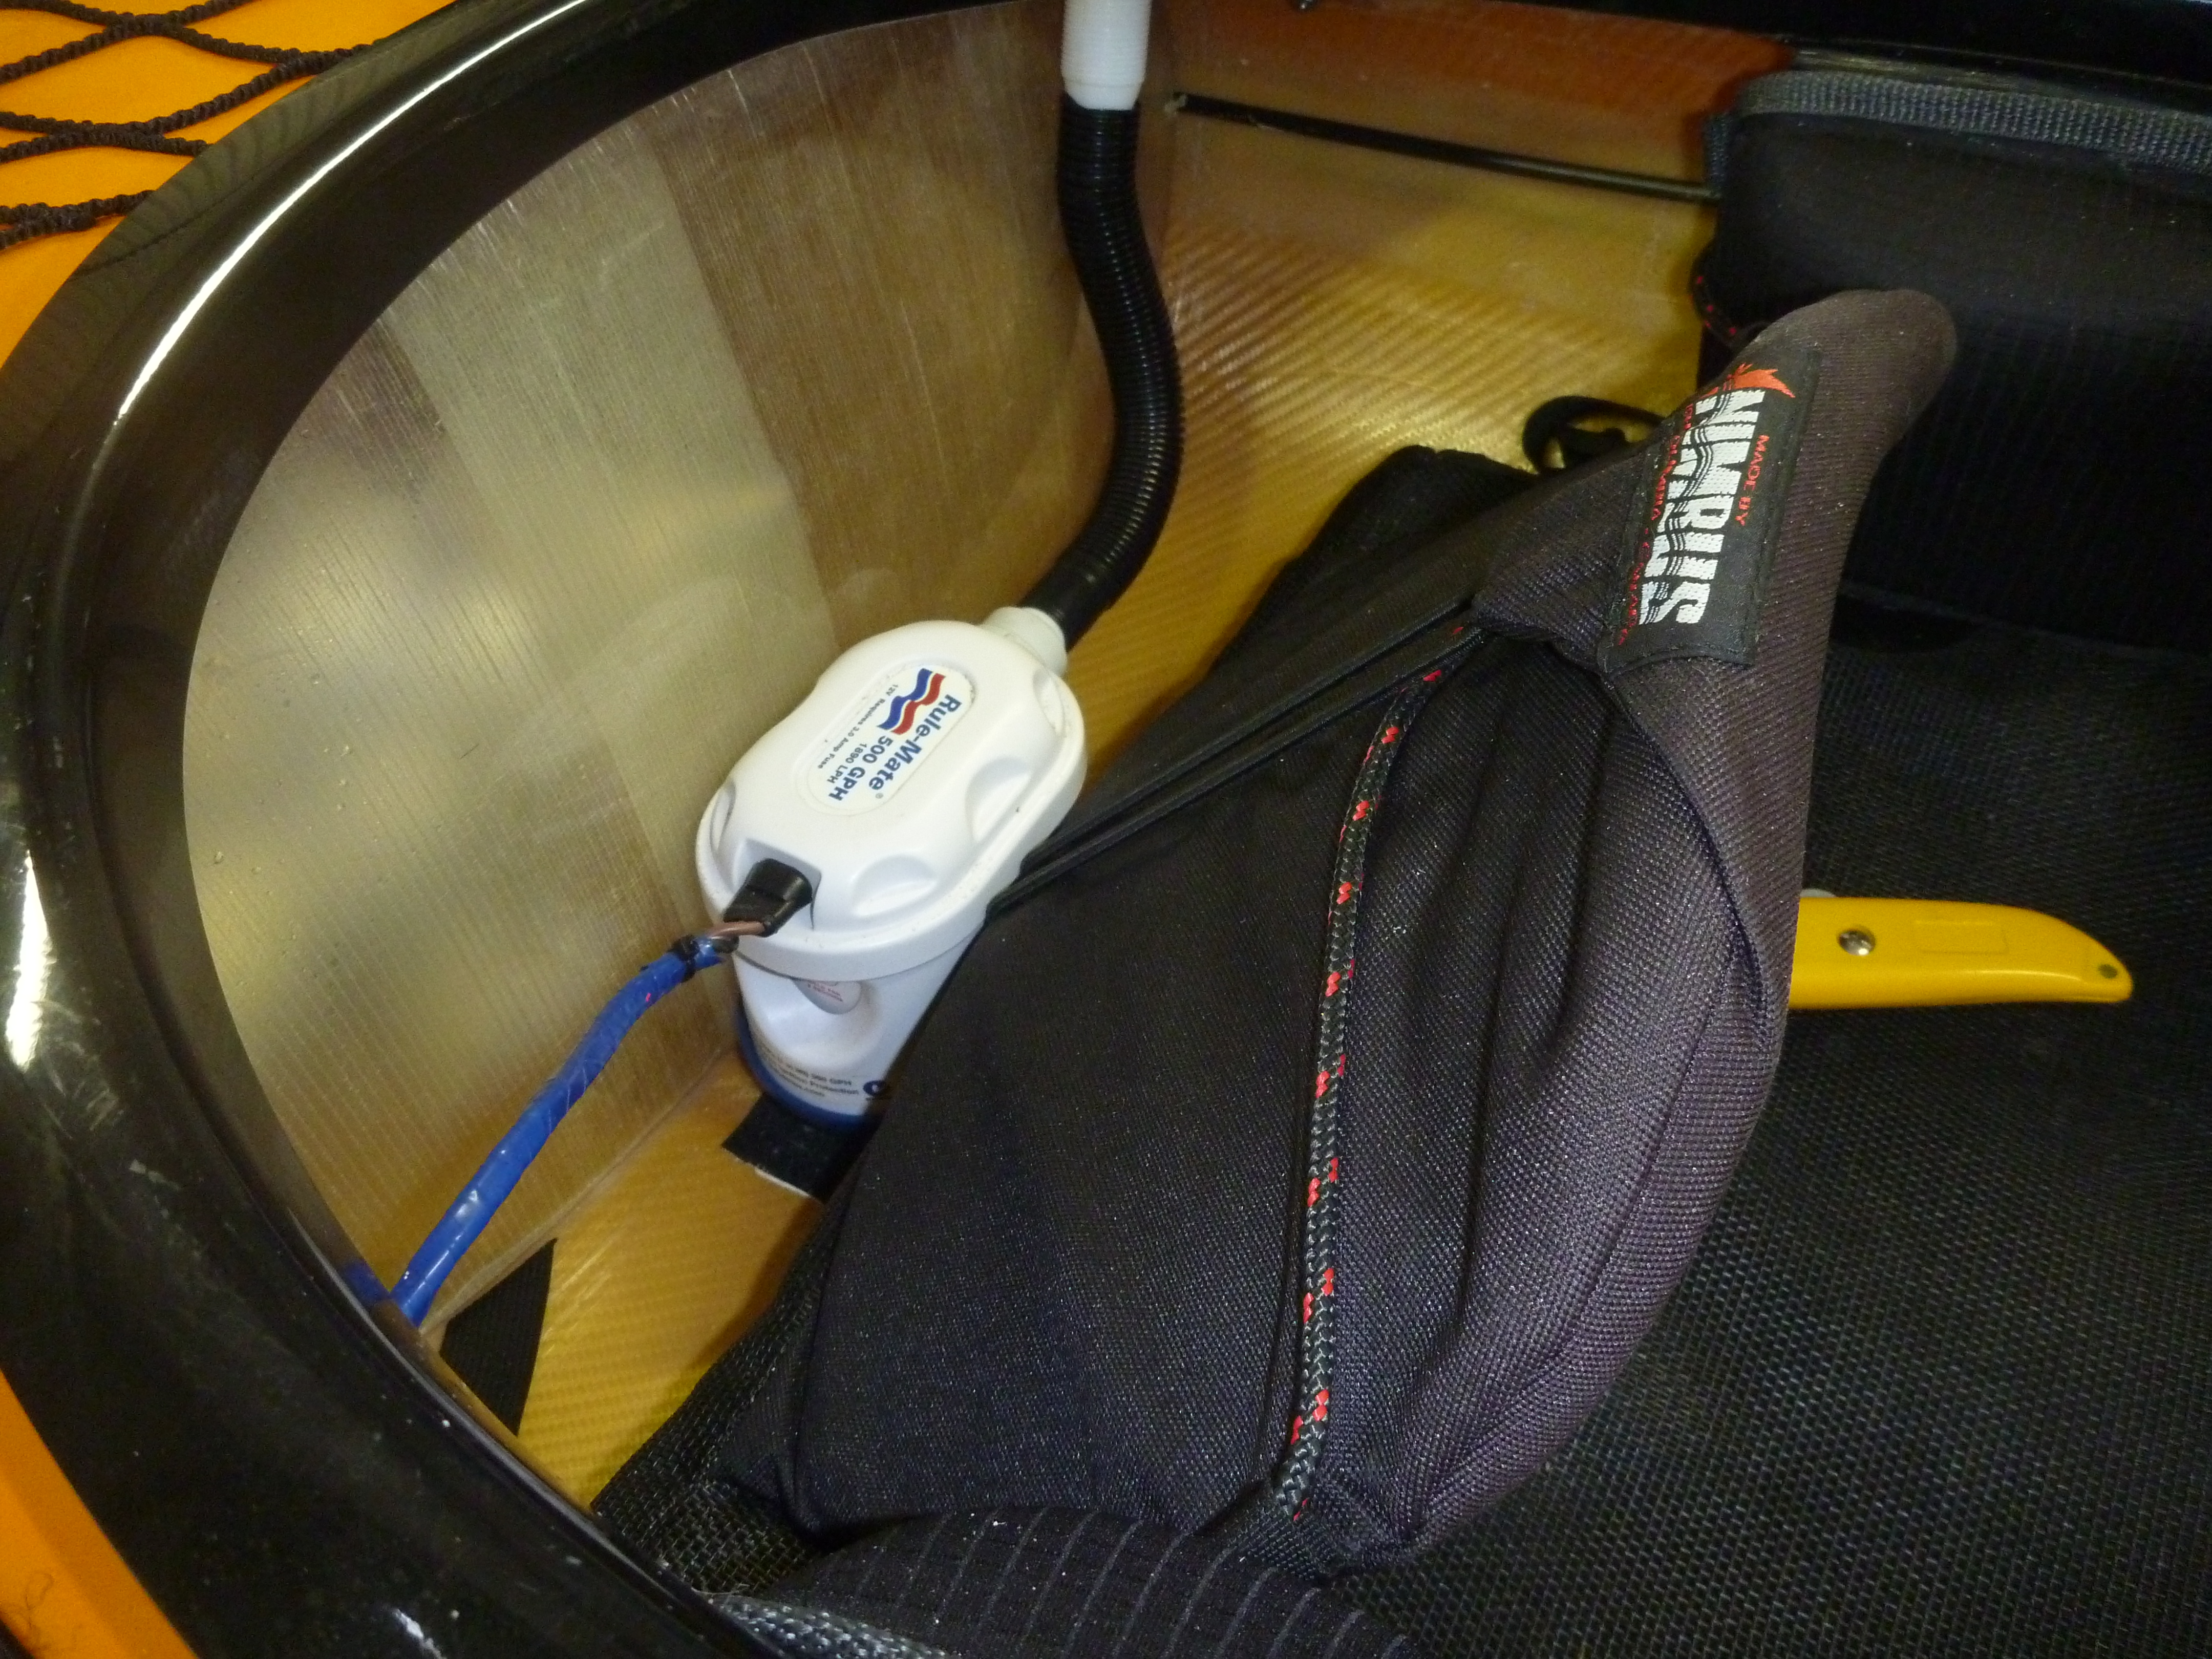
pump installed behind seat
Attach the pump and battery box into kayak in a convenient place. Many people find it easy to mount the battery box against the rear bulkhead with velcro or shockcord and others have used a lightweight aluminium bracket.
Add water and give it a test. Wet exits can now be fun!!
With this method you can easily remove the pump from its’ hose (leaving the hose connected to the skin fitting), remove the battery, and transfer the pump/battery into a second, third, etc kayak. All you need, is to have the skin fitting, bung, hose, and pump bracket already installed in the other kayaks.


 PADDLING SOUTH